Showing posts with label diy. Show all posts

August 25, 2010

DIY cake topper

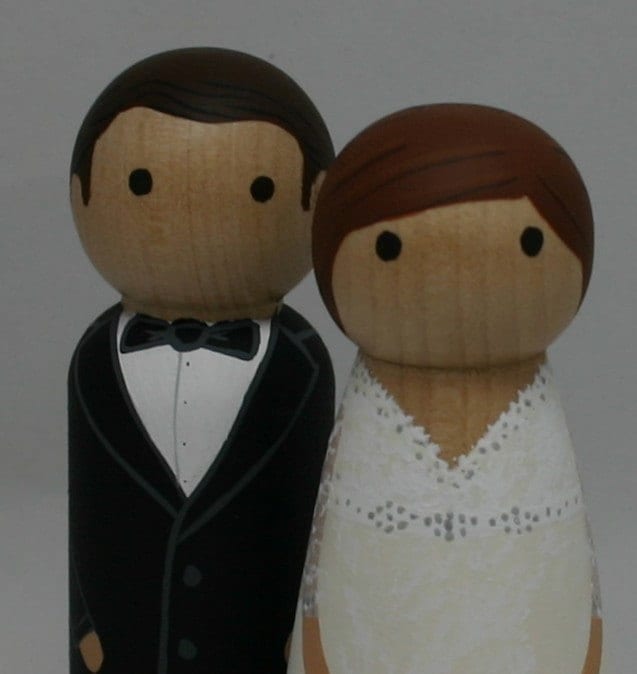
So, remember the cake topper that I was in love with?  Well, I decided that I should at least try to make one myself before ordering one online.  The materials are so cheap (or you can buy a kit here from Goose Grease), and it's not a very time consuming project.  And I found a great tutorial here which helped seal the deal.

So I headed to Michael's to buy my little wooden people, some paints, and paintbrushes.  All in all I think it cost me about $10!  The wood figures come in packs of two, so I bought a pack of boy figures and girl figures.  Then I had extra in case I messed up!  I bought a couple paints--brown for our hair, cream, beige--and I got lucky because my mom already had black, and I already had a little pot of silver paint. Oh, and I got some clear varnish to seal it all up.

Here is the how-to:
Step 1 - draw the outline of the hair and clothing on with pencil.  I thought about adding faces, but I think that would have been too challenging for me.

Step 2 - paint!  I started with the black tux because the was the paint I had at the time, and it was basically the whole boy figure.  Remember to leave bare spaces for hands!
 

Step 3 - varnish.

Step 4 - make base for the little guys to stand on.  (This is the step that I am at now.)

Step 5 - glue the dudes on the base.

Step 6 - admire. (I have skipped ahead to this step a few times already!)

July 28, 2010

DIY invitations, part 2

Tips

  • I printed the invitations on our HP ColorJet printer.  I only needed to buy a new color ink cartridge before printing and it lasted for all 300 cards!  
  • The printing took me a few hours on a Saturday.  
  • I found that the printing looked much better if you printed in small batches (10 cards or so) at a time.  Once I set the printer to print 15 at a time and the color began to fade on the last one.
  • With the 4 bar cards, I had to feed each one through individually because the printer would shoot two through at a time.
  • Practice stamping!  Because the white enclosure card (the card mounted onto the slightly larger blue card) was slightly textured, the stamp rarely turned out "perfect."  Now I think they look just fine, but I was a little disappointed at first.
  • Ink your stamp every time!
  • You can stamp and powder several (we maybe had 15 sitting around at one point) before heating them.
  • Wash and dry the stamps frequently so that you get nice sharp lines and don't have much bleeding of ink.

July 17, 2010

DIY invitations

After attending the Paper Source wedding invitation workshop, I have been thoroughly set on making my own invitations.  I priced it out, and it would save a few bucks doing it myself.  Plus, I love crafts and I have a bunch of wonderful friends who immediately offered to help.  What more can a girl ask for? :)


So I created an invitation layout with a friend who is an editor (thanks, Deb!).  She helped me line everything up right and get all the spacing set.  I spent hours trying to find the right font color only to decide that it will never match perfectly so I should not worry so much.  Then I bought all the supplies and the girls headed over for a surprisingly quick and painless night of stamping, embossing, and taping!
I decided to go with a layered square invitation.  I also kept the stamping idea and ordered a monogram stamp and an address stamp.  The monogram was heat embossed onto the invitation, and the address stamp was used for the return address on the main envelopes and the main address on the response card envelopes.


Here is a price breakdown for 100 invitations.  I bought all the supplies at Paper Source.  On some items I got a 10% discount for buying 10 or more packages.


Cost
$24 soft white 4 bar cards (8 x $3)
$27 night 4 bar envelopes (10 x $2.70)
$21 luxe white fine square enclosure (4 x $5.25)
$17 night 5.5" x 5.5" card (4 x $4.25)
$38.30 night 5.75" envelopes (10 x $3.83)
TOTAL $134.50


$3 silver ink pens (2)
$8 embossing powder
$24 heat tool
$6 midnight ink pad
$8 silver ink pad
$12 tape runners (2)
TOTAL $61


I ordered two 1.5" square monogram stamps from www.rubberstamps.net for $10 each.  And I ordered two return address stamps from tickled pink paper ink for $18 each.  Since once person pretty much did all the envelope stamping (thanks, Meghan!), I probably didn't need to order two of these.  


I did need to get two more tape runners and also a new heat embosser while we were working on the invitations.  The heat embosser just crapped out after about 20 min and we are not sure why.  But I have the warranty and the receipt, so I can return it for a refund.  I got the second heat tool at Joann's, and the clerk used a 50% off coupon for me, plus I was able to use a friend's (thanks, Claire!) teacher discount for another 15% off!  The cost of all of this came to $24.  


GRAND TOTAL (without tax and shipping) $251.50
For 100 invitations: $2.51 each

May 18, 2010

I'm torn.

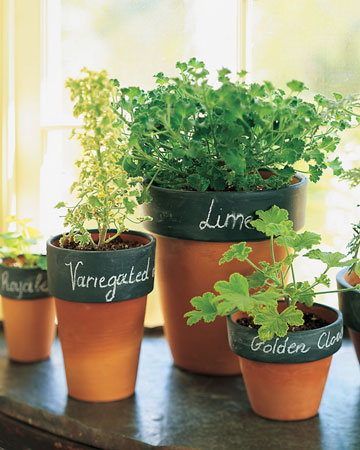
When it comes to the wedding decor, I thought I had it all set right at the beginning.  I had thought for a while that it would be cool to do the floral centerpieces in a terra cotta pots painted with black chalkboard paint.  Then I could write the table numbers on the pots!  Sort of like this:
(source: Martha Stewart)


The florist was so in with this idea.  I was stoked.  And I was planning on using these lanterns from IKEA on half of the tables, so I thought these really worked together.


Then, to complete the look, I could create chalkboard canvases a la The Roddy Bride for the drink menu and the seating chart.  


Perfect!


But.  After getting my fantastic dress, I thought it might be best to go a more formal route.  Well, formal isn't really the right word.  I guess I mean not so casual.  So my mom bought a bunch of glass taper candle holders, only to discover that we cannot have open flames at the reception.  Damn me for not being thorough!  Soooo we're now planning to use some of those candleholders on the altar at the chapel since there is very little risk of those candles being knocked over and starting a fire.  


And then my mom got some glass hurricanes to put on half of the tables instead of the lanterns.  I do like this idea because I love candlelight and I think that the lanterns would prevent a lot of light from getting out.  Would it clash too much to do the glass hurricanes with chalkboard pots and the other chalkboard accessories?  

January 27, 2010

Top this!

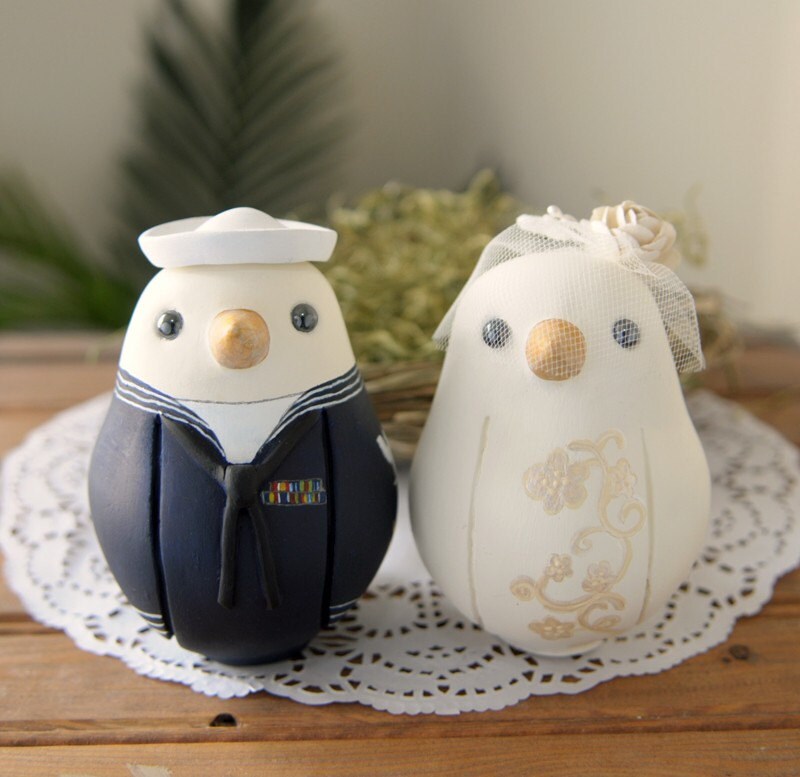
Truth: I would love to have some cute, unique cake toppers at my wedding.  I have seen some great ones on Etsy (of course), but I recently came across this post by Never the Bride.  Some of the commenters suggested that creating the cake toppers could be a game at a bridal shower.  What do you think?  I actually think that would be pretty funny.  And fun. :)

For some inspiration, check these out:

(source: naked peggies)


(source: grace fallen)


(source: red light studio)

January 26, 2010

Can't stop thinking about invitations!


Well, the workshop at Paper Source has made me invitation crazy!  It was a great class!  We were able to assemble four different invitations and learn techniques like heat embossing (everyone's fave), stamping, how to use an exacto knife, and how to use eyelets.  It made the idea of diy invites much more enticing, especially since plain cardstock is so cheap!  I mean, four is much, much less than 100, don't get me wrong.  But as some of my lovely friends have already offered to help, I think this could really work!


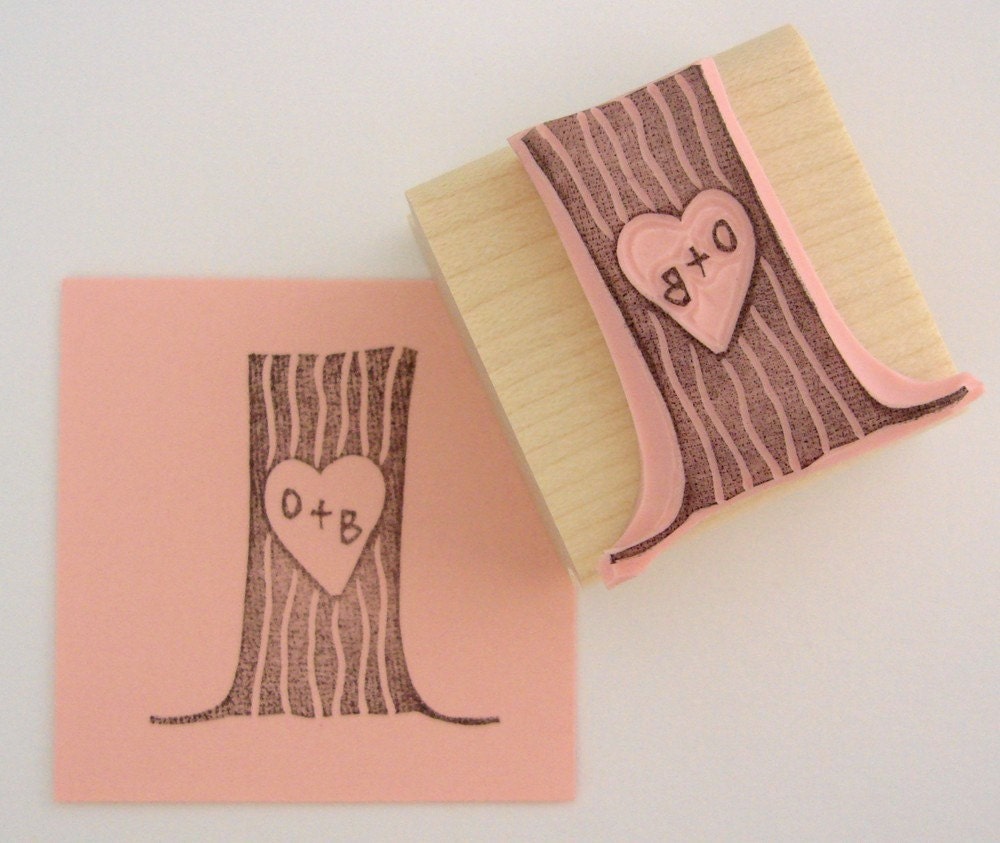
So now I'm obsessed.  I don't know exactly what style I want, so I'm going to rely on one of my editor friends to help with that.  But I really want to do the heat embossing!  So now I'm scouring Etsy for rubber stamps.  Here are some of my faves:


(all three images above from Cupcake Tree's Etsy shop)


(source: lovetocreatestamps Etsy shop)

January 19, 2010

Wedding invitation workshop


This Saturday I'm attending a workshop at Paper Source.  I'm hoping to get some good tips and decide if I really want to make my own invitations.  I think I'd really like to go this route, so I'm hoping I get some good advice!

January 7, 2010

What's next?

I have the place, the dress, the dj, the florist, and the photographer.  What do I do next? 


I'm thinking about the invitations.  I'm not sure what the best (read: cheapest) option is.  I want them to be more personal than something that anyone can just buy at the store.  I was planning on having a good friend of mine design the invites and then order them from Vista Print, but I think that might be more expensive than I was hoping.  I can get paper cheaply and then do them myself, but is that too risky?  


(source: Martha Stewart)


What can go wrong?  Problems with the printer.  Ink, paper feed malfunctions, etc.  Crooked lines.  I might end up having to spend more to fix mistakes.  But they'd be all mine.  And look how beautiful those invitations from Martha Stewart are!  


What to do?